
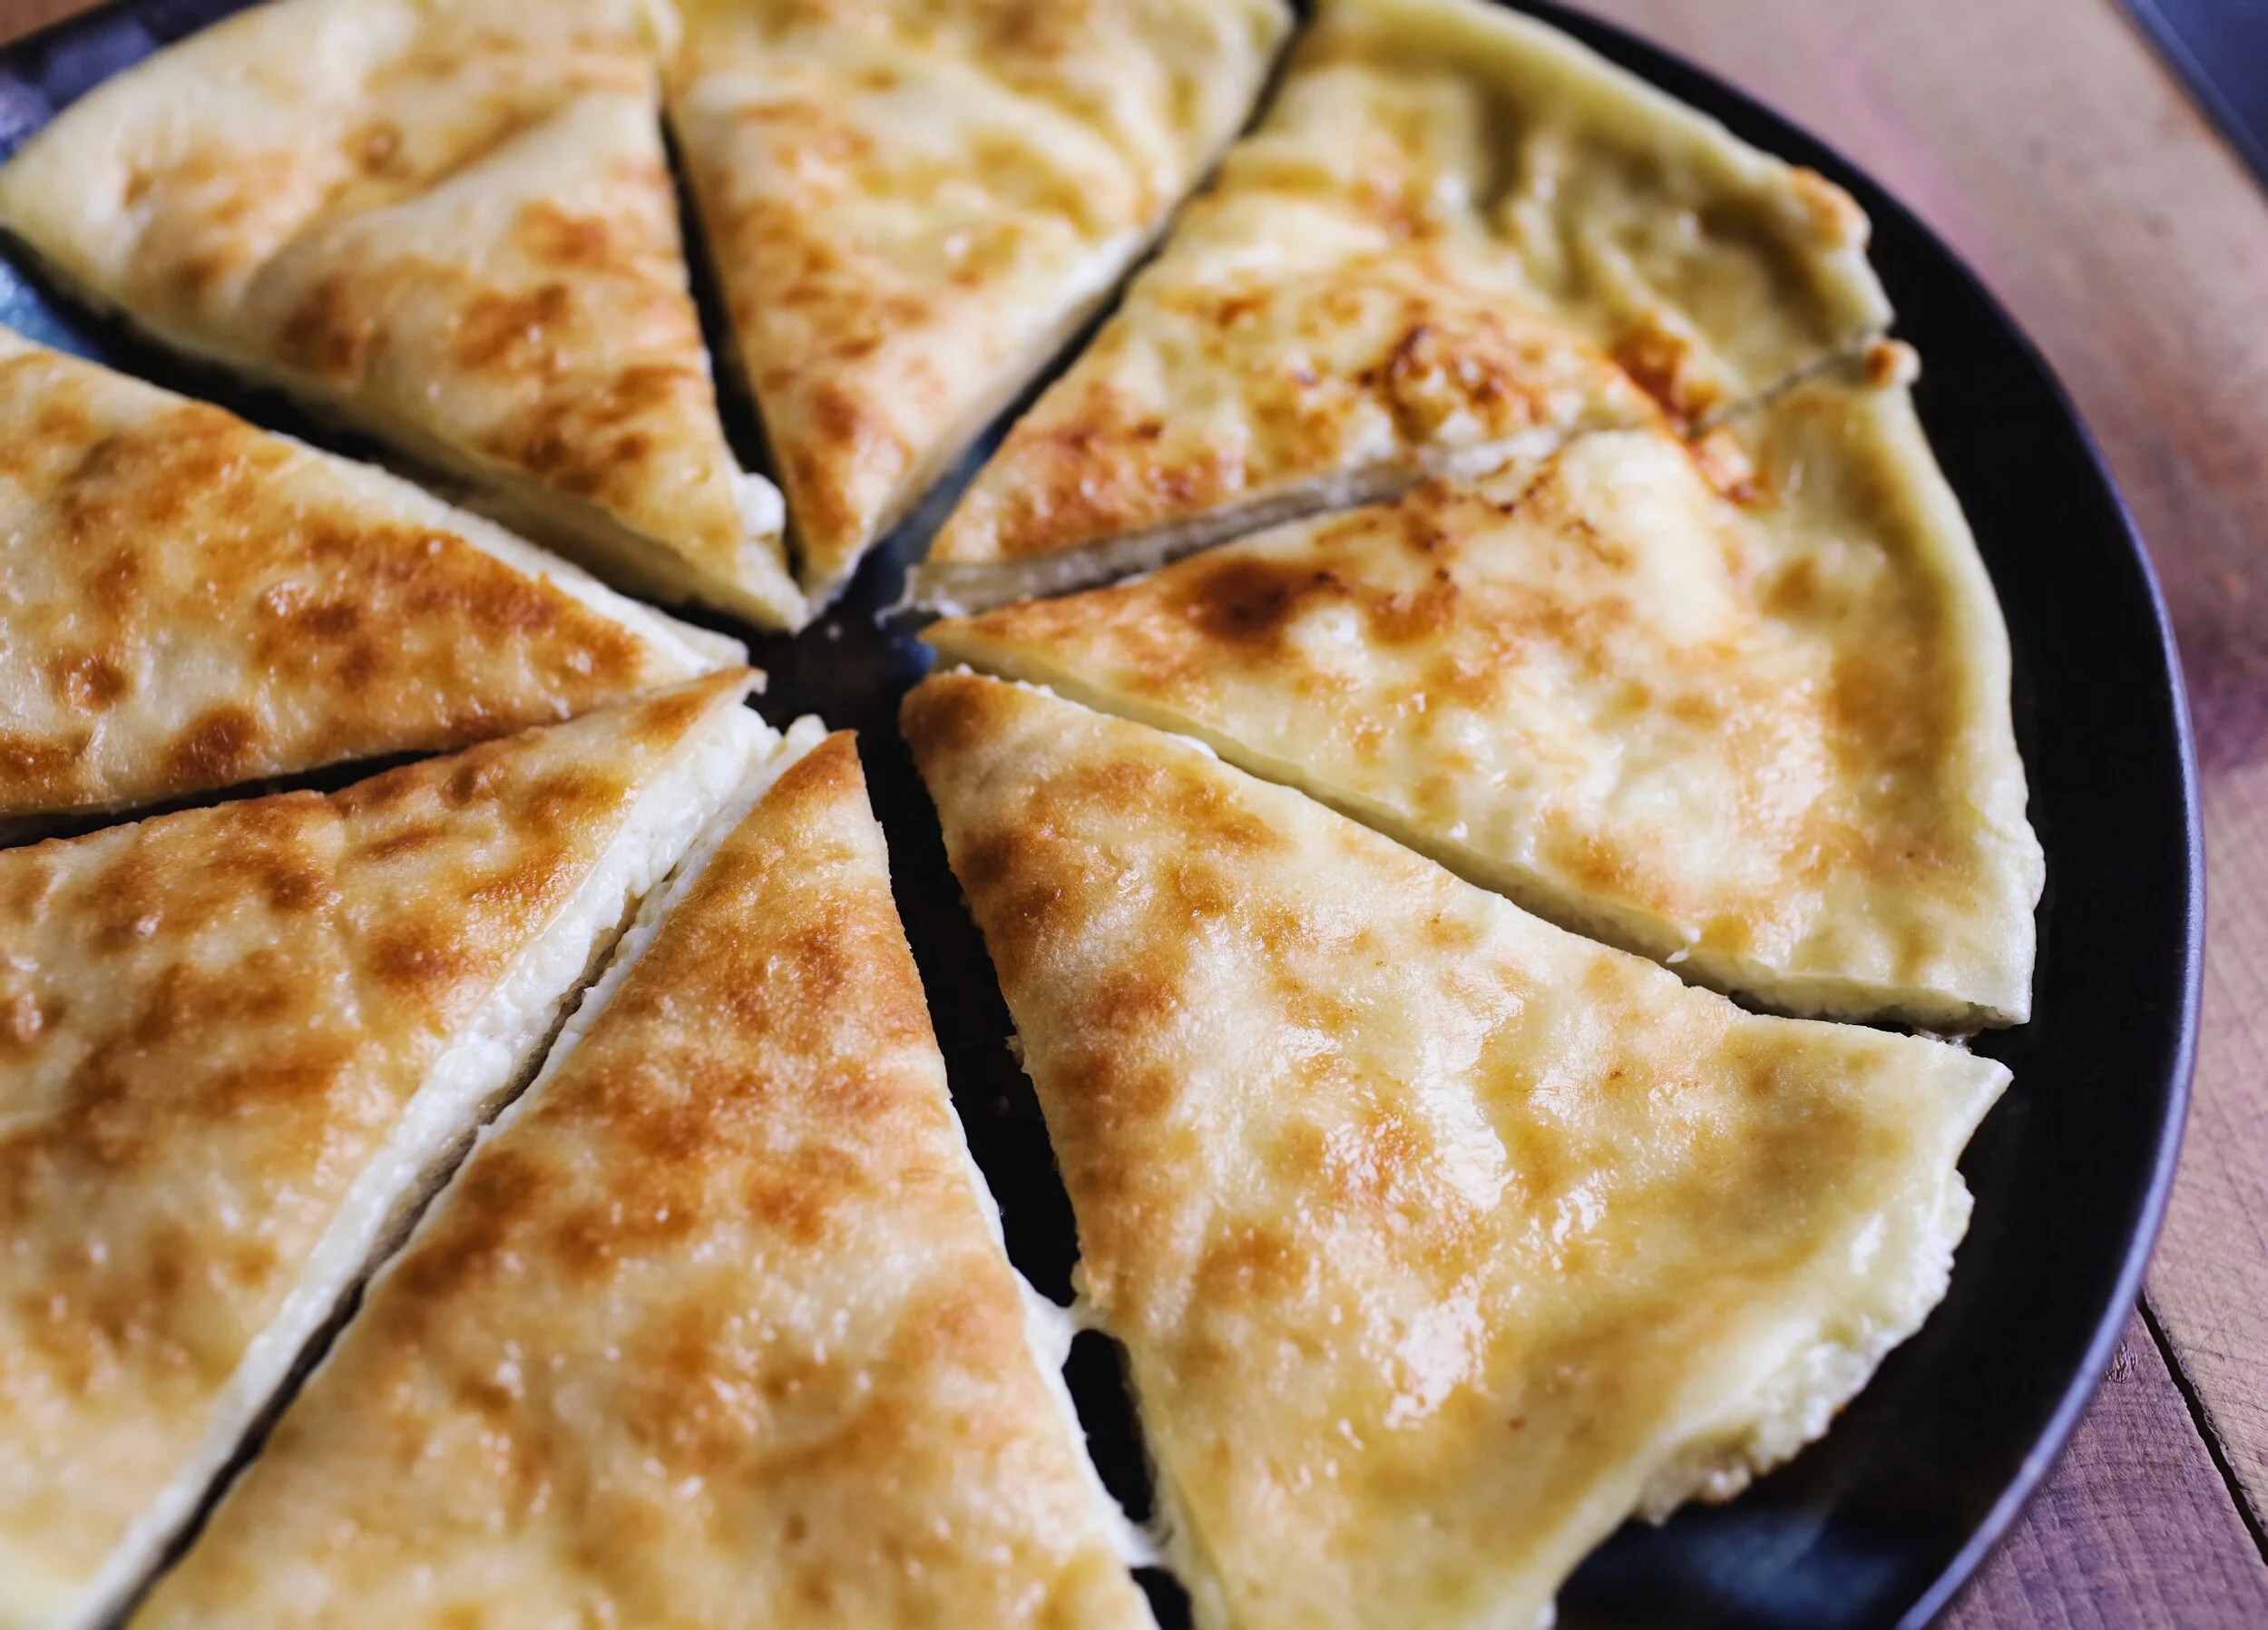
Imeruli Khachapuri
It only took about 2 years since my last post on the topic, but I am finally sharing with you my recipe for Imeruli khachapuri. While the adjaruli kind has taken the internet by storm, Imeruli is by far the one most commonly consumed in Georgia itself. So much so, that Georgian economists have even created a Khachapuri Index—using Imeruli’s cost of ingredients to gauge inflation and the strength of the economy.
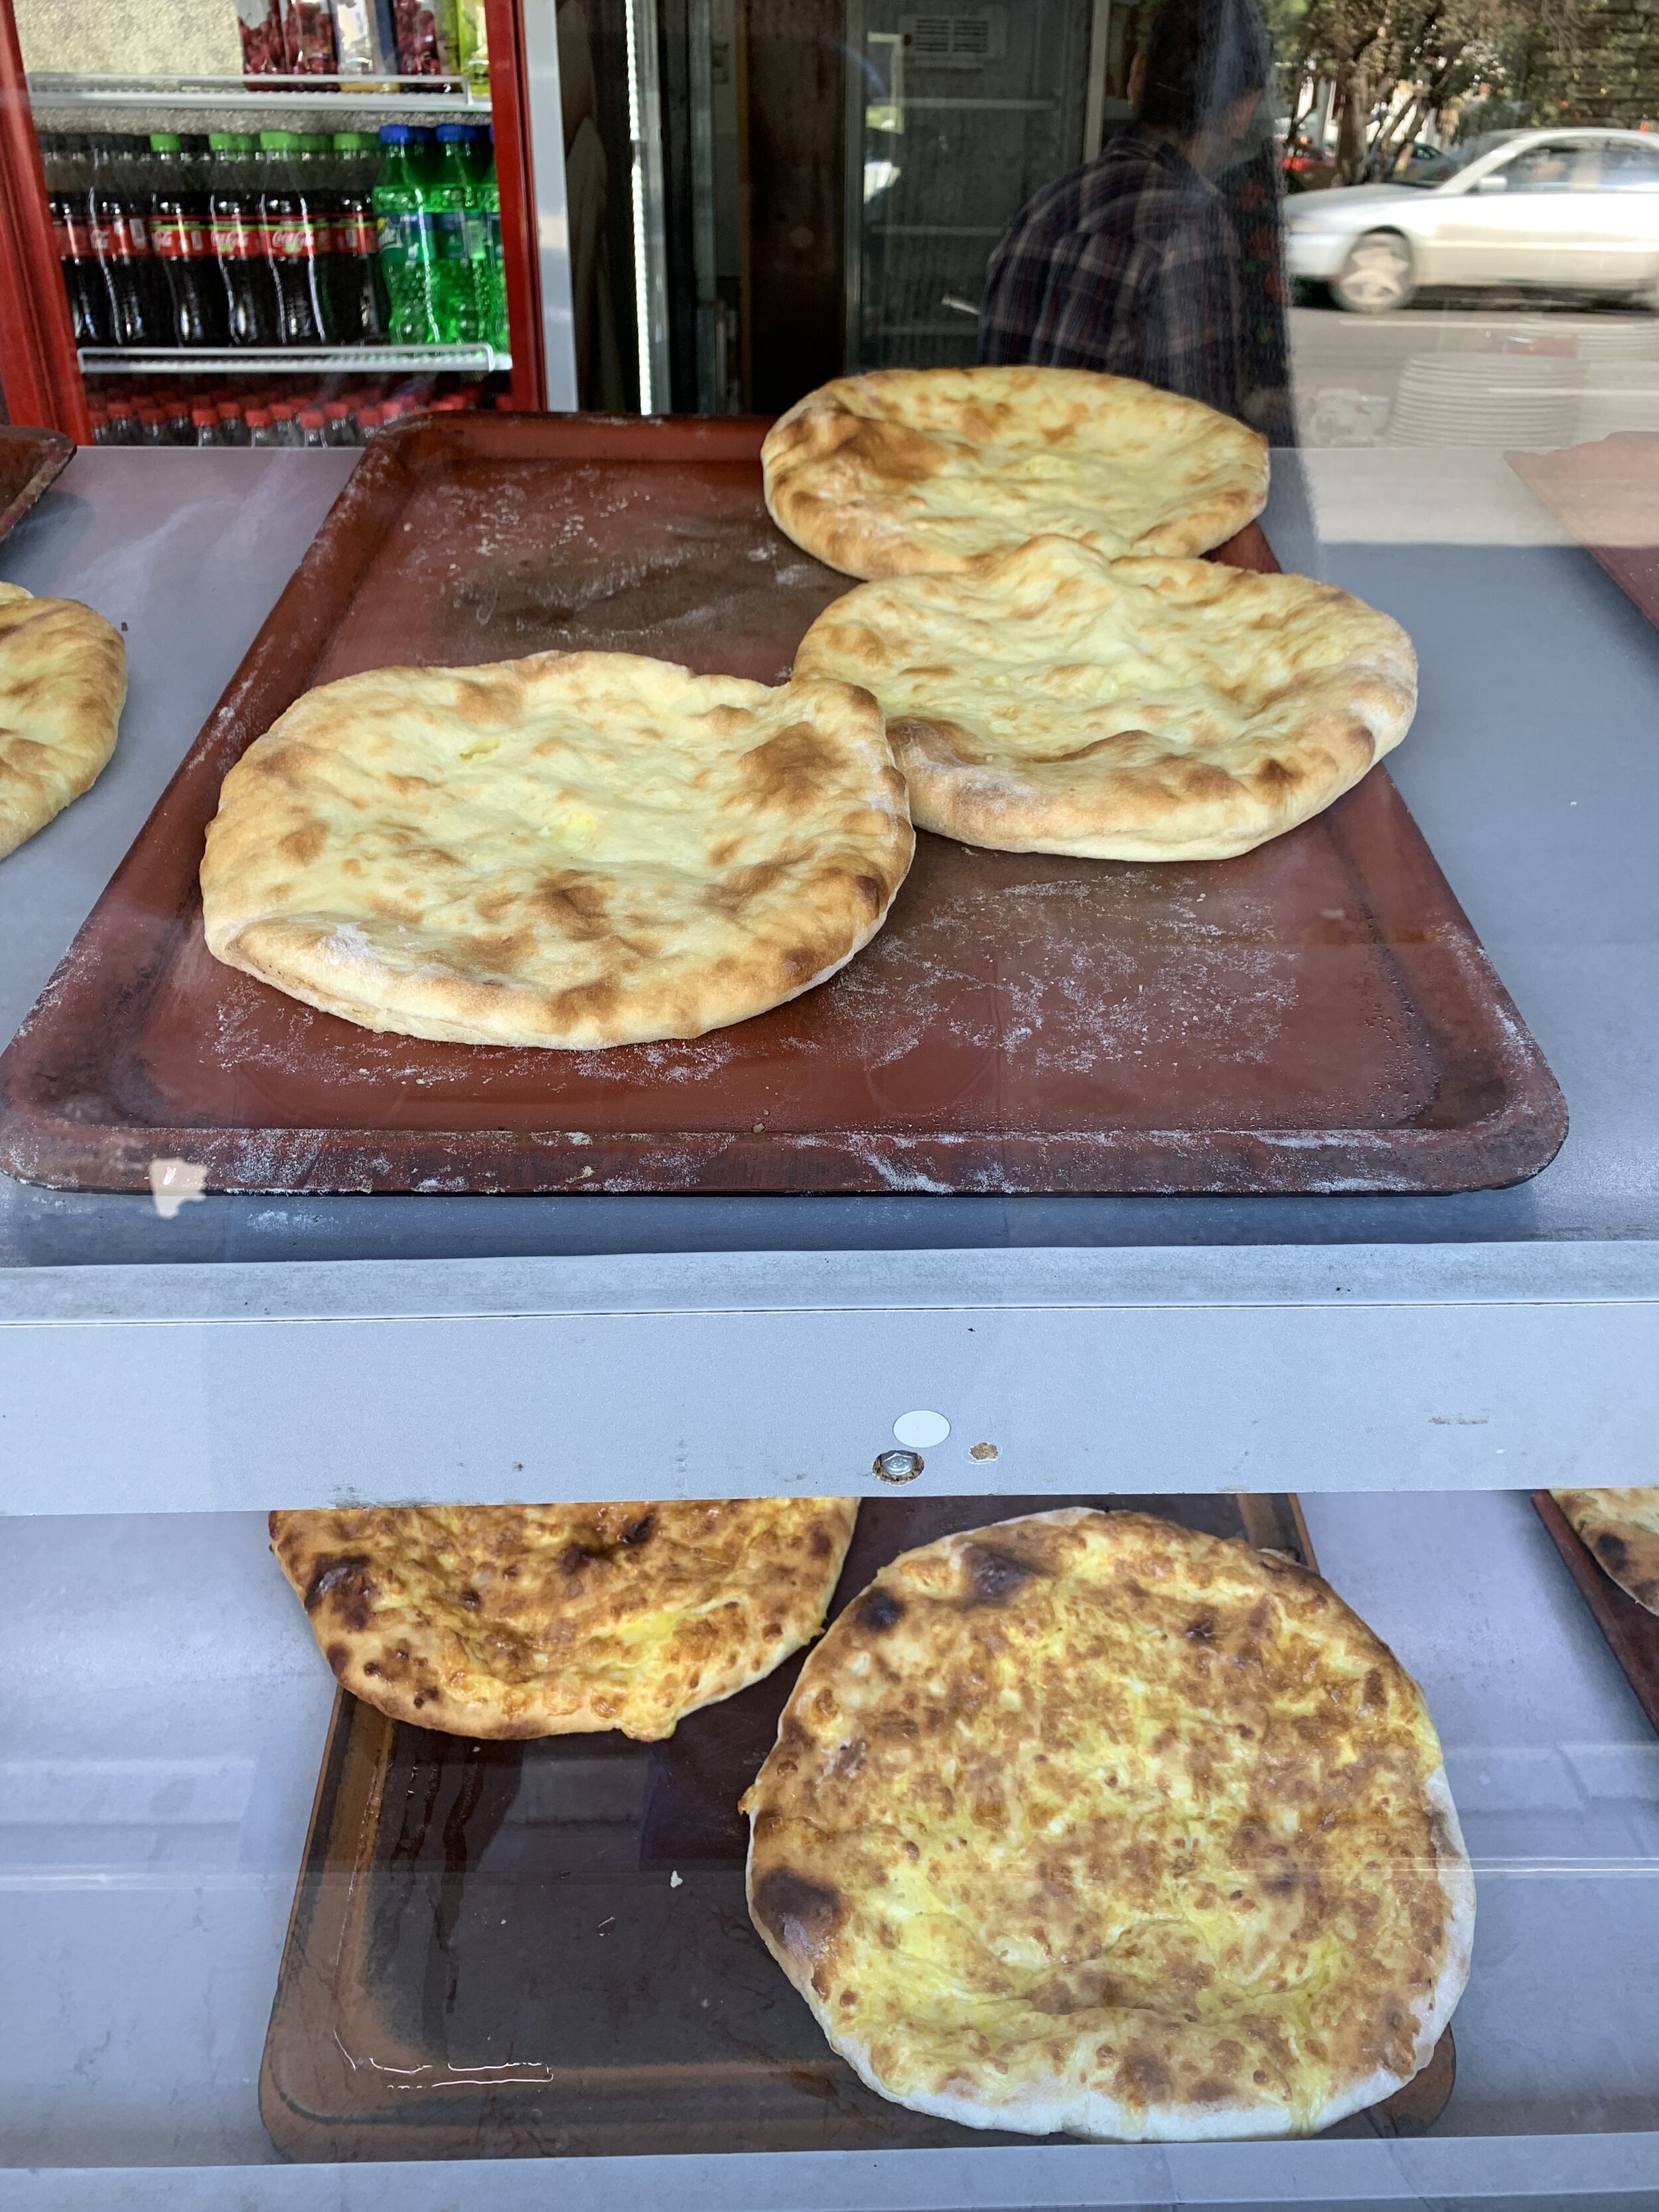
Rounds of imeruli and megruli khachapuri at a roadside kiosk outside of Tbilisi
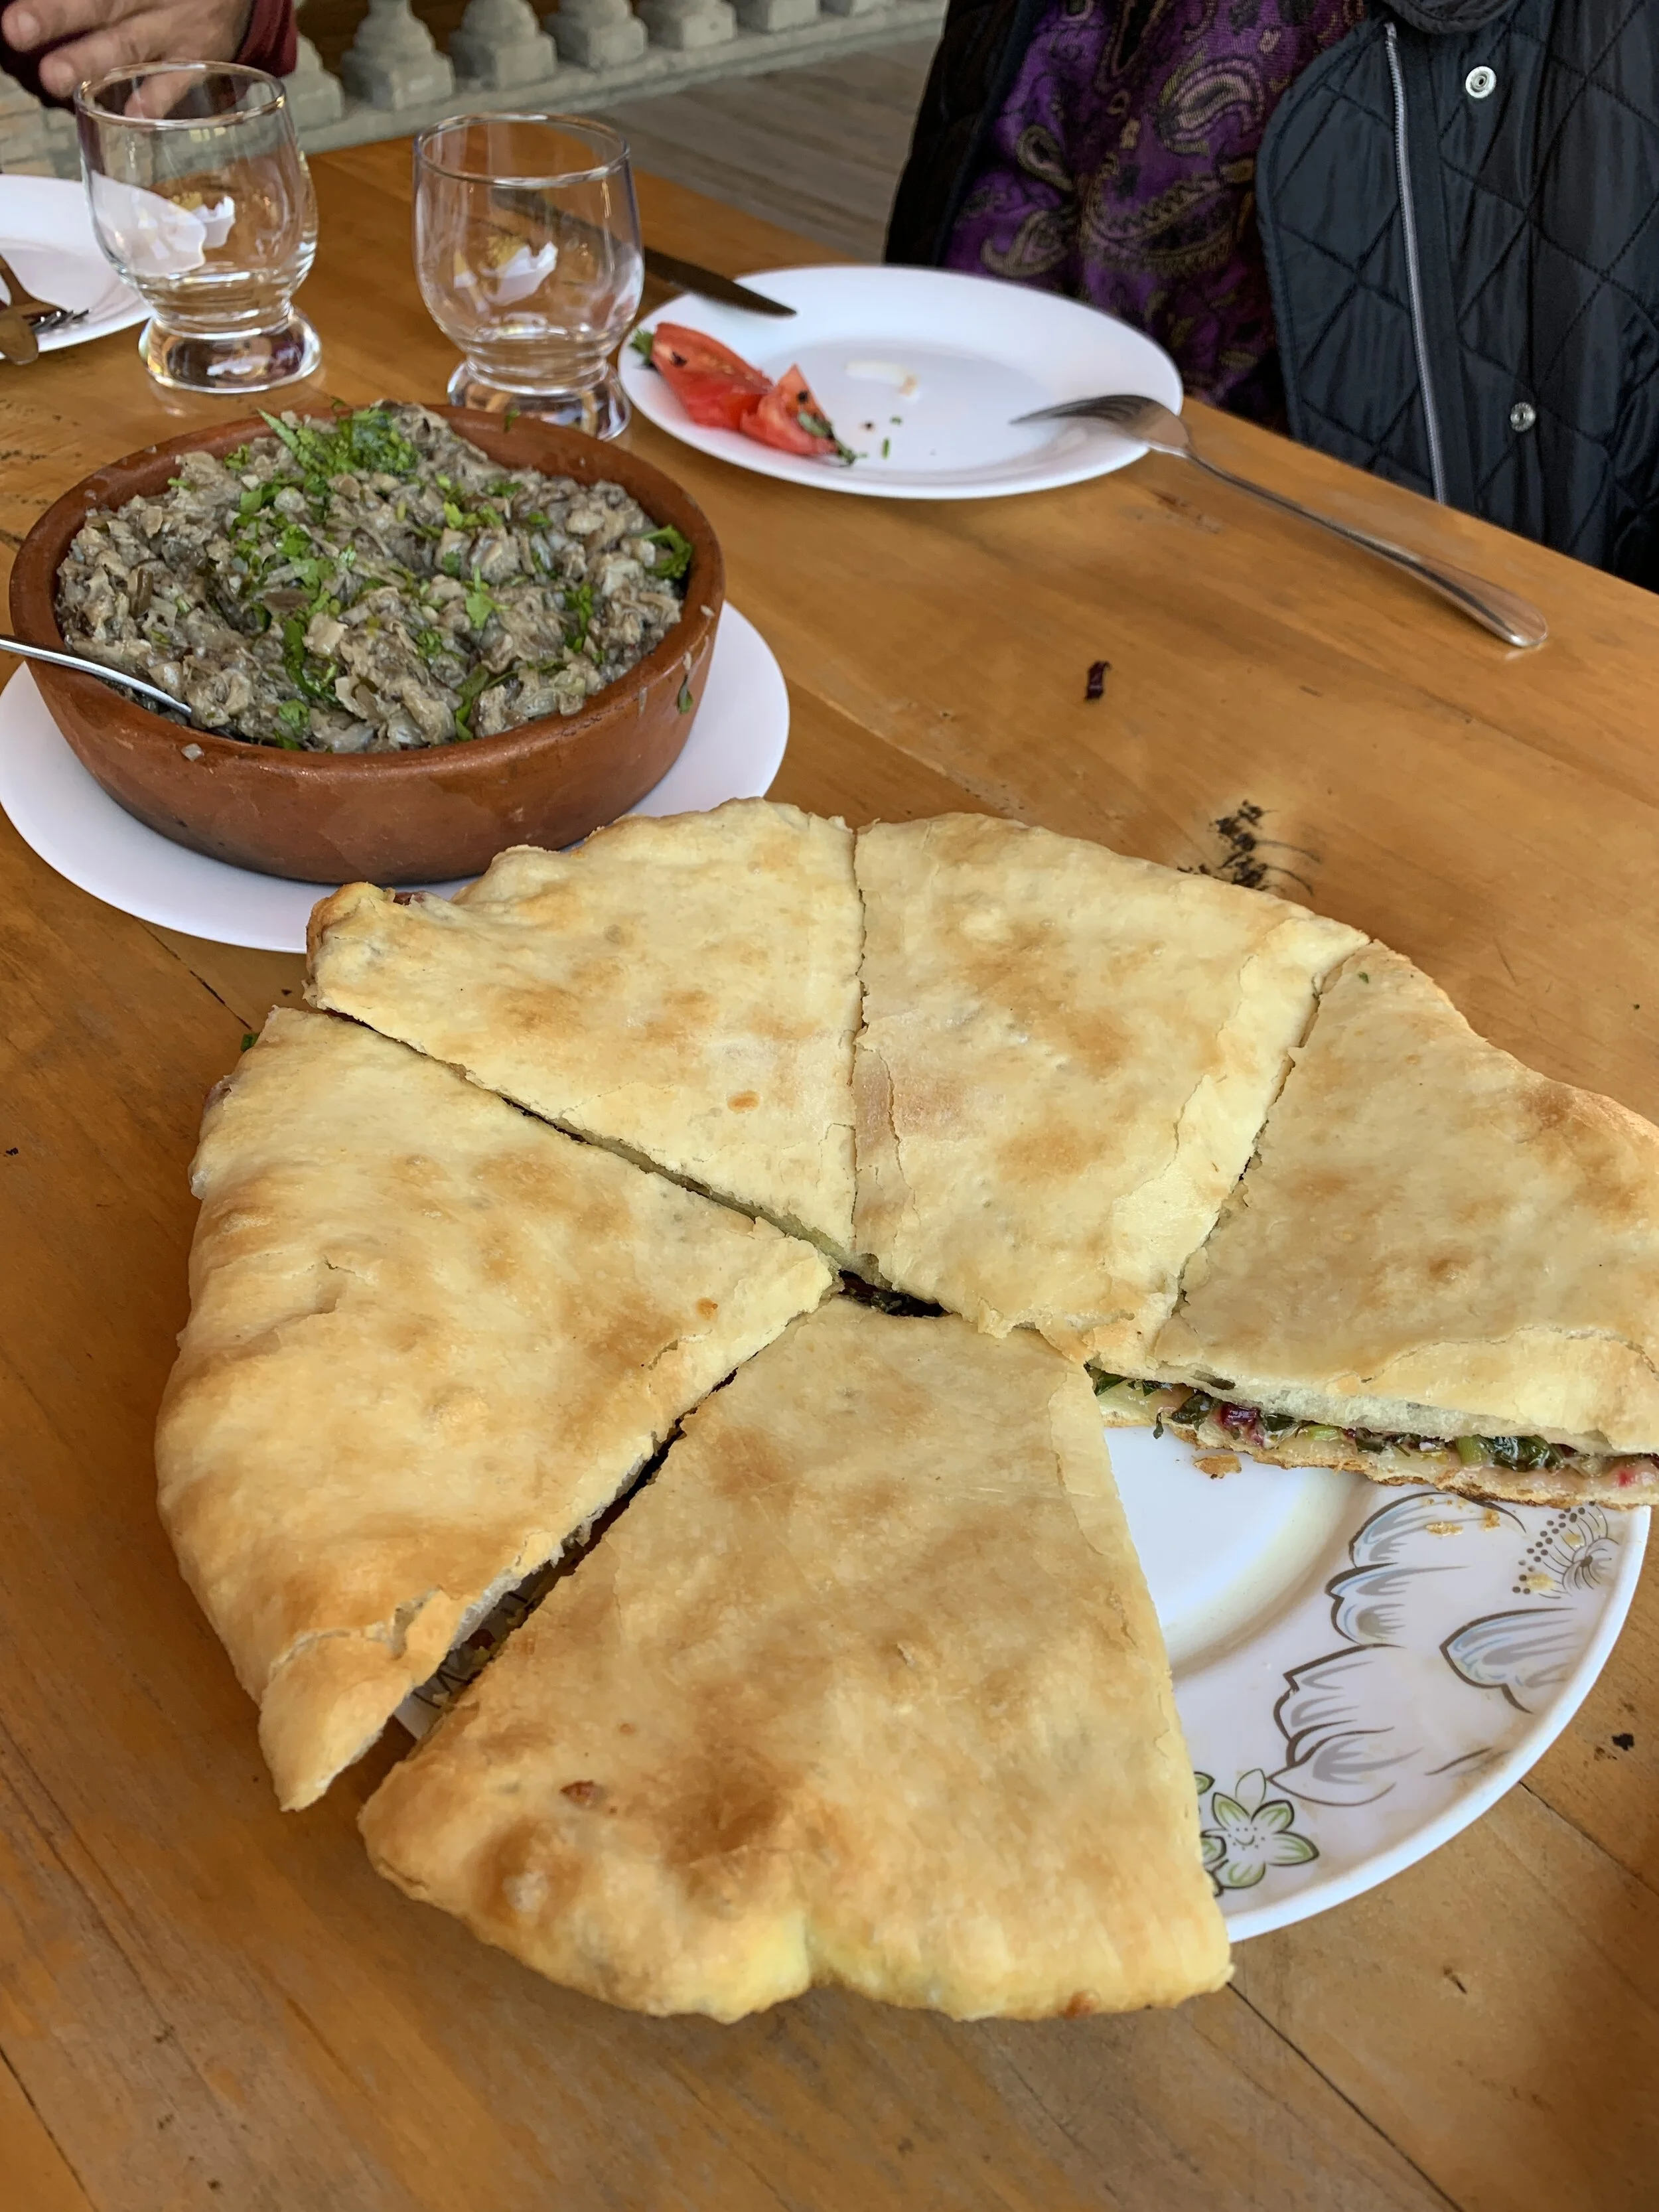
Pkhlovani-style khachapuri - stuffed with greens and cheese - in Pasanauri, Georgia
Imeruli khachapuri hails, not surprisingly, from the central region of Imereti and it’s essentially a flat bread stuffed with buttery Imeruli cheese curds and cooked on the stovetop. While adajruli’s dough is closer to that of pizza’s - with a satisfying crackle when you break off a piece - imeruli’s is soft, tender, and melts in your mouth. When I teach my khachapuri class at Book Larder, these round pies are always, by far, everyone’s favorite.
The dough only requires a few ingredients that, especially if you’re a baker, you probably have on hand- flour, yeast, sugar, salt, milk, and sour cream (the latter two make the dough super tender). As for the mozzarella, feta, and ricotta, this might require a grocery run (although if you’re like my family, you’ll always have a bag of shredded mozz in the freezer for when the craving strikes).
Now that we’re spending more time than ever at home, it seems like everyone is stretching their culinary muscles - my Instagram is littered with first-time loafs of sourdough and babkas, jars of marmalade, and all sorts of pickles and ferments. Consider the khachapuri a fun weeknight kitchen project, one that not only provides comfort, but also one whose novelty transports you to a world far away - even if that’s just for a few bites.
And speaking of hot cheese, for those who didn’t know, I spent most of last year working on a cookbook on hot, melty cheese. Hot Cheese doesn’t come out till September 1st, but you can start to pre-order it wherever books are sold. While Amazon is the obvious place for this for many, may I suggest going through your local bookstore (or Indiebound) instead? Not only will you be helping out a small business that needs your support more than ever, but it also shows them that there’s excitement for the book. Knowing that, they will be more likely to buy copies for the store. For me in Seattle, those shops are Book Larder, Elliot Bay Book Company, and Third Place Books. Please take this as a suggestion and realize that I work for Book Larder so I’m a little biased :)
Oh, and one more piece of news… I’m happy to announce that this khachapuri will be kicking off Comestible Journal’s Comestible Kitchen Club - a project that was actually started by me, the journal’s creator Anna Brones, and Molly Reeder over two years ago when we virtually baked Anna’s Swedish cardamom buns “together.” In the spirit of community, of the joy and rage of stepping into the kitchen, and of social distancing, we are starting it up again and this time around we want to invite all of YOU to join.
It’s simple. Every Monday, Anna will post a new recipe on the Comestible website that either me, her, or Molly have chosen (and maybe by one of you down the line!). You’ll have the rest of the week to make it and then post and share your creation/experience/ideas with others using the hashtag #comestiblekitchenclub. Our favorites will then be featured on the site. Fun right? Anna will be posting more about it today, but for now, happy cheesing!

Imeruli Khachapuri
Makes four 8 to 10-inch rounds
If you can avoid pre-shredded mozzarella, great. But these are trying times and it also adds a bit more work, so I wouldn’t worry about it too much. It’s also important that your filling ingredients are at room temperature when you go to form the khachapuri - it will make it easier to roll out the dough and will prevent it from tearing.
I like to roll my khachapuri out a bit thinner and cook them in a 12-in nonstick skillet. If you only have a 10-inch that’s fine, your round will just be smaller and “chubbier.” You can make the dough in advance up to 2 days by following the recipe up to the second (60-90 minute) rise. The filling can be made 2 to 3 days in advance as well.
Ingredients
Dough:
1 cup (235 ml) milk, warmed
½ cup sour cream, room temperature
2 tablespoons sunflower or vegetable oil, divided, plus more for greasing
1 teaspoon kosher salt
1 teaspoon sugar
1 ½ teaspoon instant dry (or rapid-rise) yeast
3 cups all-purpose flour (420 g), plus more as needed
Filling:
4 ½ cups [16 oz] low-moisture whole milk mozzarella, shredded, room temperature
5 oz feta cheese, grated, room temperature
5 oz whole milk ricotta, room temperature
1 large egg, room temperature
1 teaspoon all-purpose flour (omit if using pre-shredded)
Instructions
To make the dough: In a medium bowl, whisk together milk, sour cream, 1 tablespoon oil, salt, sugar, and yeast. Switch over to a wooden spoon and gradually begin to add the flour, mixing to incorporate after each addition. Once dough begins coming together in one shaggy mass, begin adding the remaining flour a little bit at a time, using your hands to knead it in. The dough will be soft and slightly sticky- resist urge to add more flour! Cover bowl with a kitchen towel and set aside to rest in a warm place for 10 to 15 minutes.
Remove dough from bowl and set on a lightly floured surface. Pour a little of the remaining oil on your hands and begin to knead the oil into the dough. Continue until no oil remains and dough is soft, smooth, elastic, and just slightly sticky.
Once done, pour some oil into your hand and grease the sides of a clean bowl. Place the dough inside the bowl, form it into a ball, and pat the top of it to grease. Cover with a kitchen towel and set aside to rest in a warm place for about 60 to 90 minutes or until dough has doubled in size.
Carefully grab an edge of the dough and stretch it over itself towards the opposite side. Repeat with remaining edges. Pinch them so that they come together and flip the round over so that it’s nice and smooth on top. On a lightly floured surface, cut dough into 4 pieces (about 200 g each) and form each into a little ball. Set aside on a lightly floured surface, cover with a damp kitchen towel, and let rest for another 15 to 20 minutes.
Meanwhile, to make the filling: In a medium bowl, mix the cheeses, egg, and flour until thoroughly hydrated and combined. Divide into four sturdy balls and set aside.
To assemble: Take one piece, keeping the others covered, and pat it gently with your fingers into a 5 to 6-inch circle. Place one ball of cheese in the middle. Carefully grab two opposite sides of the dough, bring them up over the cheese, and pinch them together. Hold them securely together with one hand as you bring up the remaining edges over the cheese towards the center. Pinch the ends together really well at the top to seal and secure like a big dumpling or money purse.
Sprinkle a little flour over the top and gently start flattening out the filled dough with your fingers. Flip it over. Sprinkle with a bit more flour. Gently working from the center out to the edges using your fingers and palms, continue to flatten the dough out, making sure the filling is evenly distributed, until you have an 6 to 7-inch round. Switch over to a rolling pin, and gently roll it out to an 8 to 10-inch round depending on the size of the skillet you will be using. If the dough tears at any point, I usually pinch a little piece from another round of dough and use it to patch up the hole.
Heat a 10 or 12-in non-stick skillet over medium-low heat. Once hot, carefully transfer round to pan. Cook, uncovered, for 4 to 5 minutes, or until brown spots begin to develop on the bottom. Carefully flip over and use a fork to coat it evenly with a pat of butter. Cook for another few minutes until bottom is browned—if khachapuri begins to inflate, pierce it with the end of a sharp knife to release steam. Flip khachapuri over onto a serving plate and coat the ungreased side with butter. Repeat process with remaining pieces of dough.
Allow to cool for a few minutes before cutting into 6 or 8 pieces. Serve immediately. Any leftovers can be wrapped in plastic or foil and kept on the counter for up to 2 days (if it lasts for that long).